Maple Bliss Donut Holes: A Sweet Indulgence
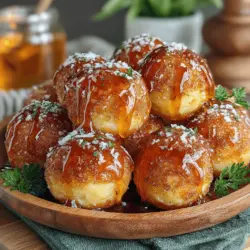
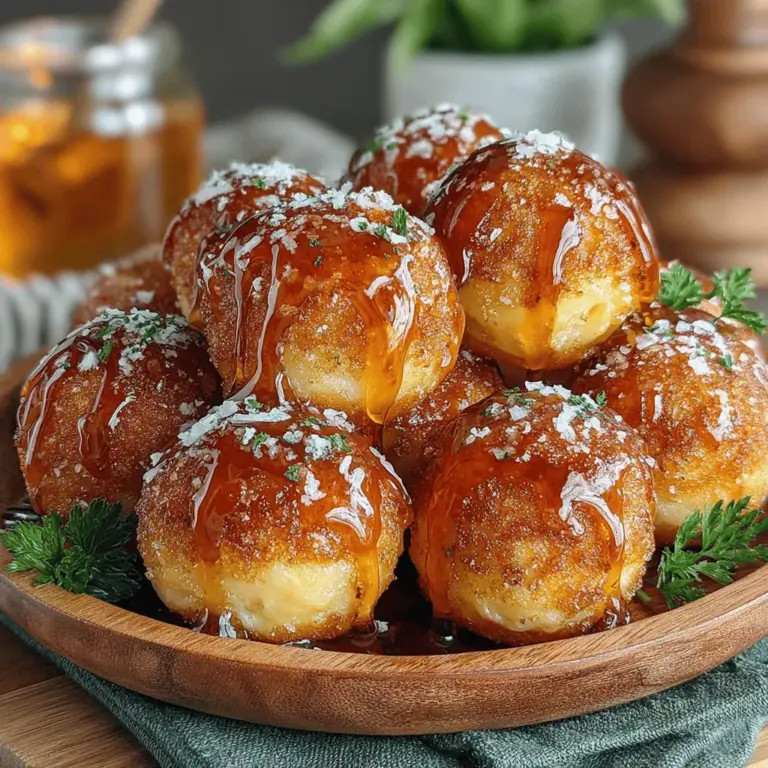
There’s something irresistibly charming about homemade donut holes. These bite-sized treats capture the essence of comfort and indulgence, making them a favorite among both children and adults. From the first bite, the soft, fluffy texture and the delightful flavors transport you to a cozy café or a bustling bakery. Maple Bliss Donut Holes take this allure to a new level, offering a unique combination of sweet maple syrup and warm spices that create a harmonious balance that’s hard to resist.
What sets Maple Bliss Donut Holes apart is not just the taste but the versatility they bring to the table. Whether you’re looking for a delightful snack to accompany your afternoon coffee, a sweet treat to satisfy your dessert cravings, or a fun party delight that will impress your guests, these donut holes fit the bill perfectly. With their warm, inviting flavors, they’re perfect for any occasion, be it a cozy brunch, a festive gathering, or simply a quiet moment at home.
The Joy of Homemade Treats
Making baked goods at home is an experience that goes beyond just the final product. It’s about the process—the mixing, the frying, the glazing—and the joy that comes from creating something delicious from scratch. The satisfaction of pulling a tray of freshly made donut holes from the fryer is unmatched. As the aroma of warm spices fills your kitchen, it evokes a sense of nostalgia that many of us associate with family gatherings and holiday celebrations.
One of the most rewarding aspects of homemade treats is the ability to control the ingredients. When you make your own donut holes, you can choose high-quality components, such as pure maple syrup, which not only enhances flavor but also adds a touch of authenticity to your dish. The joy of using fresh, quality ingredients can elevate your culinary creations and transform a simple recipe into something truly special.
Understanding the Ingredients
To create the perfect Maple Bliss Donut Holes, it’s essential to understand the role of each ingredient in the recipe. Here’s a closer look at the key components that come together to make these delightful treats:
– All-Purpose Flour: This is the foundation of your donut holes. It provides the structure needed for a fluffy texture while allowing for the perfect balance of lightness and density. The right amount of flour ensures that your donut holes rise beautifully and maintain their shape.
– Granulated Sugar: Sugar not only sweetens the donut holes but also contributes to their texture. It helps create a golden brown exterior while keeping the inside tender and moist. The right balance of sugar is critical for achieving that perfect sweetness without overpowering the other flavors.
– Baking Powder and Baking Soda: These leavening agents are crucial for giving your donut holes the right rise. Baking powder acts quickly to create a light and airy texture, while baking soda works in tandem to enhance browning and flavor. Together, they ensure that your donut holes are fluffy and pillowy.
– Spices: The warm flavors of cinnamon and nutmeg are essential in this recipe. They add depth and complexity, enhancing the overall taste of your donut holes. These spices complement the sweetness of the maple syrup, creating a rich flavor profile that’s comforting and delightful.
– Buttermilk: This ingredient is a game-changer when it comes to texture. Buttermilk adds tenderness and moisture to the dough, resulting in light and fluffy donut holes. The acidity in buttermilk also reacts with the leavening agents, contributing to the rise and promoting a soft crumb.
– Egg and Butter: Both of these ingredients play a significant role in enriching the dough. Eggs provide structure and stability, while butter adds richness and flavor. Together, they contribute to the overall mouthfeel and enhance the taste of the donut holes.
– Maple Glaze Ingredients: Finally, the glaze is what takes these donut holes to the next level. A simple mixture of powdered sugar and pure maple syrup creates a sweet, glossy finish that perfectly complements the warm, spiced donut holes. The glaze not only adds a touch of sweetness but also enhances the maple flavor, making every bite a blissful experience.
Step-by-Step Guide to Making Maple Bliss Donut Holes
Now that we’ve laid the groundwork for understanding the ingredients and their importance, let’s dive into the exciting process of making Maple Bliss Donut Holes.
Step 1: Gather Your Ingredients
Before you start, make sure you have all the necessary ingredients on hand. This includes all-purpose flour, granulated sugar, baking powder, baking soda, cinnamon, nutmeg, buttermilk, eggs, butter, powdered sugar, and pure maple syrup. Having everything ready will streamline the process and make it even more enjoyable.
Step 2: Prepare the Dough
In a mixing bowl, combine the dry ingredients: all-purpose flour, granulated sugar, baking powder, baking soda, cinnamon, and nutmeg. Mix them well to ensure that the leavening agents and spices are evenly distributed. In a separate bowl, whisk together the wet ingredients: buttermilk, eggs, and melted butter. Once combined, pour the wet mixture into the dry ingredients, stirring gently until just combined. Be careful not to overmix, as this can lead to denser donut holes.
Step 3: Shape the Donut Holes
Once the dough is ready, it’s time to shape the donut holes. Using a small scoop or your hands, take a portion of the dough and roll it into a ball about one inch in diameter. Place the shaped dough on a parchment-lined baking sheet, ensuring they are spaced apart to allow for rising.
Step 4: Fry the Donut Holes
In a deep pot or fryer, heat oil to 350°F (175°C). Carefully drop the donut holes into the hot oil, a few at a time, to avoid overcrowding. Fry them until they are golden brown, which typically takes about 2-3 minutes per side. Use a slotted spoon to remove them from the oil and place them on a paper towel-lined plate to drain any excess oil.
Step 5: Prepare the Maple Glaze
While the donut holes are cooling, prepare the glaze. In a bowl, whisk together powdered sugar and pure maple syrup until smooth. Adjust the consistency by adding more syrup or sugar as needed. The glaze should be thick but pourable, ready to coat the donut holes beautifully.
Step 6: Glaze the Donut Holes
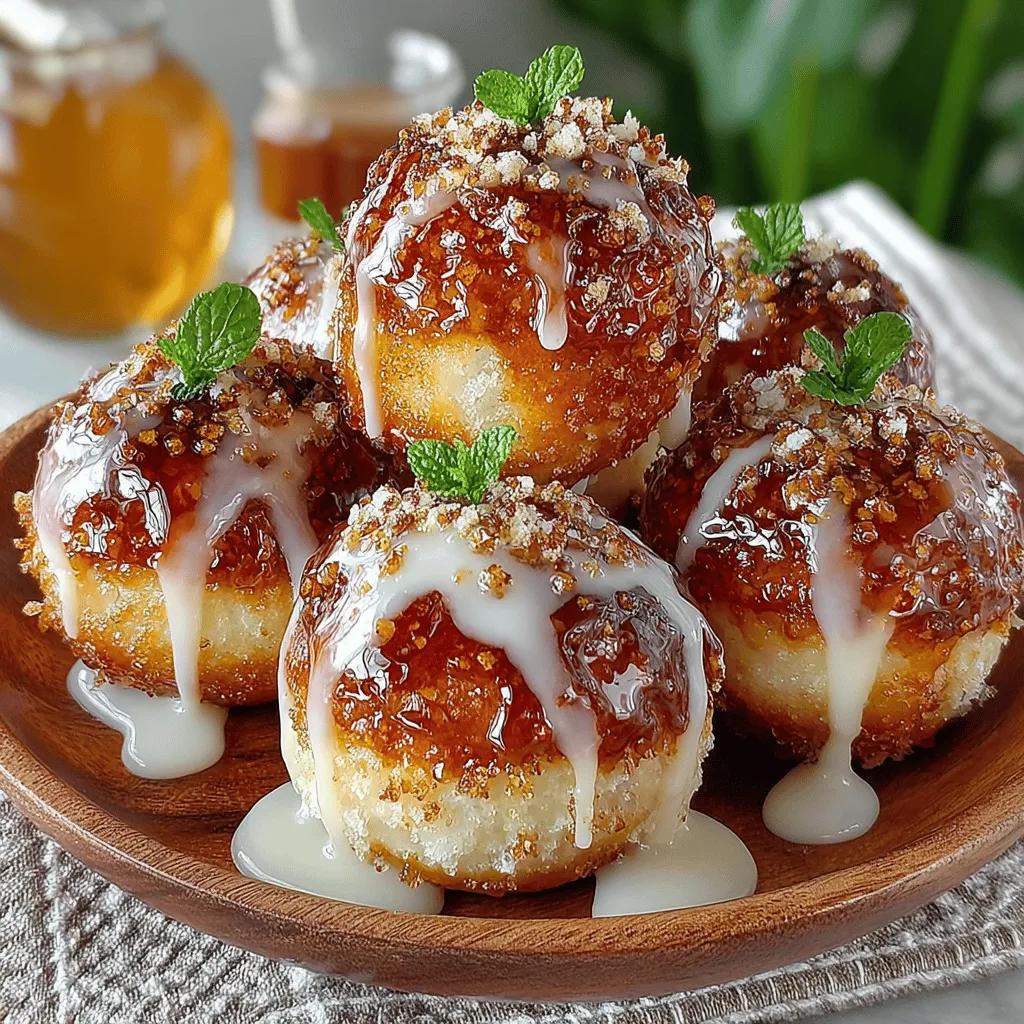
Once the donut holes have cooled slightly, dip each one into the maple glaze, allowing the excess to drip off. Place the glazed donut holes on a wire rack to let the glaze set. The final touch is a sprinkle of additional cinnamon or crushed nuts, if desired, to add an extra layer of flavor and texture.
With these initial steps, you’re well on your way to creating the delightful Maple Bliss Donut Holes that will surely become a cherished addition to your recipe collection. The blend of flavors, the joy of making them from scratch, and the satisfaction of sharing them with friends and family all come together to create a truly special culinary experience.
Preparing the Dough
To create the perfect Maple Bliss Donut Holes, the first step is to prepare the dough. Begin by gathering your dry ingredients: all-purpose flour, baking powder, salt, and ground cinnamon. Sifting these ingredients together is crucial, as it aerates the flour and removes any lumps. This process not only ensures an evenly mixed dough but also contributes to a lighter texture in the finished product. In a separate bowl, combine the wet ingredients: granulated sugar, eggs, milk, melted butter, and pure maple syrup.
When mixing the wet ingredients, it’s essential to whisk them until they are fully combined and the mixture appears smooth. Gradually add the dry mixture to the wet ingredients, being careful not to overmix. Overmixing can lead to dense donut holes, which is not the desirable result for this recipe. Instead, gently fold the dry ingredients into the wet mixture until just combined; a few small lumps are perfectly fine.
Chilling the Dough
Once the dough is prepared, it’s time to chill it. Chilling is a vital step that impacts both the texture of the donut holes and the ease of handling the dough. By placing the dough in the refrigerator for at least 30 minutes, you allow it to firm up. This makes it easier to shape the donut holes and helps them retain their structure during frying. Additionally, chilling the dough results in a slightly denser and chewier texture, which is delightful in every bite.
Heating the Oil
While the dough chills, prepare your frying station. Choose a deep frying pan or a heavy pot and fill it with oil. The oil depth should be at least 2 inches to ensure that the donut holes cook evenly and do not touch the bottom, which could lead to uneven cooking. Heat the oil over medium heat and use a kitchen thermometer to monitor the temperature; you’re aiming for 350°F (175°C).
Maintaining the perfect frying temperature is crucial for achieving that golden-brown exterior. If the oil is too hot, the donut holes will cook too quickly on the outside while remaining raw inside. Conversely, if the oil is not hot enough, the donut holes will absorb too much oil, resulting in greasy treats. Therefore, patience is key during this step.
Shaping and Frying the Donut Holes
Once the oil has reached the desired temperature, it’s time to shape and fry the donut holes. Using a small cookie scoop or your hands, portion out the dough into bite-sized balls, roughly 1 inch in diameter. As you drop the dough into the hot oil, be cautious not to overcrowd the frying pan. Crowding can cause the temperature of the oil to drop, resulting in soggy donuts.
Fry the donut holes in batches, giving them enough space to float freely. As they cook, keep an eye on them. After about 2-3 minutes, they will start to puff up and turn golden brown. Use a slotted spoon to gently flip them halfway through cooking for even browning. Once they are golden on all sides, transfer them to a plate lined with paper towels to drain any excess oil.
Making the Maple Glaze
While the donut holes cool, it’s time to prepare the maple glaze. In a medium bowl, combine powdered sugar with a few tablespoons of milk and a generous splash of pure maple syrup. Whisk the ingredients together until smooth and creamy. The key to achieving the perfect glaze consistency is to adjust the amount of milk to your liking; for a thicker glaze, use less milk, whereas more milk will result in a thinner glaze.
Once the glaze is well-mixed, set it aside. This glaze will add that signature maple flavor and a glossy finish to your donut holes.
Glazing the Donut Holes
With the donut holes cooled slightly, it’s time to glaze them. Using a fork or your fingers, dip each donut hole into the glaze, ensuring that it is fully coated. Allow any excess glaze to drip off before transferring the glazed donut holes back to a cooling rack or a plate. This step not only enhances the appearance of the donut holes but also adds a delightful sweetness that complements the maple flavor.
Serving Suggestions and Pairings
These Maple Bliss Donut Holes are perfect for any occasion, from casual family brunches to festive gatherings. Present them on a beautiful plate, dusted with a sprinkle of powdered sugar or drizzled with additional maple syrup for an extra touch. You can also serve them in a decorative basket lined with parchment paper for a charming presentation.
For drink pairings, consider serving these donut holes with a steaming cup of coffee or a rich hot chocolate. The warm beverages will complement the sweet maple flavors and create a delightful experience for your guests.
If you find yourself with leftover donut holes, store them in an airtight container at room temperature for up to two days. For longer storage, you can freeze them by placing them in a freezer-safe bag. To reheat, simply pop them in the microwave for a few seconds or warm them in the oven at 350°F (175°C) for a few minutes to restore their delightful texture.
Conclusion
Creating Maple Bliss Donut Holes is a rewarding experience that yields delicious results. The blend of warm spices and rich maple syrup makes every bite a taste of heaven. The joy of preparing these treats from scratch is matched only by the happiness they bring when shared with loved ones.
Encouraging creativity in the kitchen, this recipe invites you to experiment with variations—consider adding chocolate chips, nuts, or even a sprinkle of sea salt on top of the glaze for a unique twist. Whether enjoyed as a sweet breakfast treat, a delightful dessert, or a fun snack, these donut holes are sure to impress. So gather your ingredients, roll up your sleeves, and enjoy making these delightful Maple Bliss Donut Holes!