Introduction
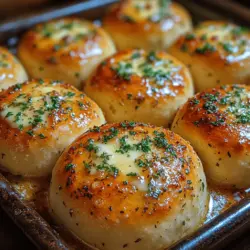
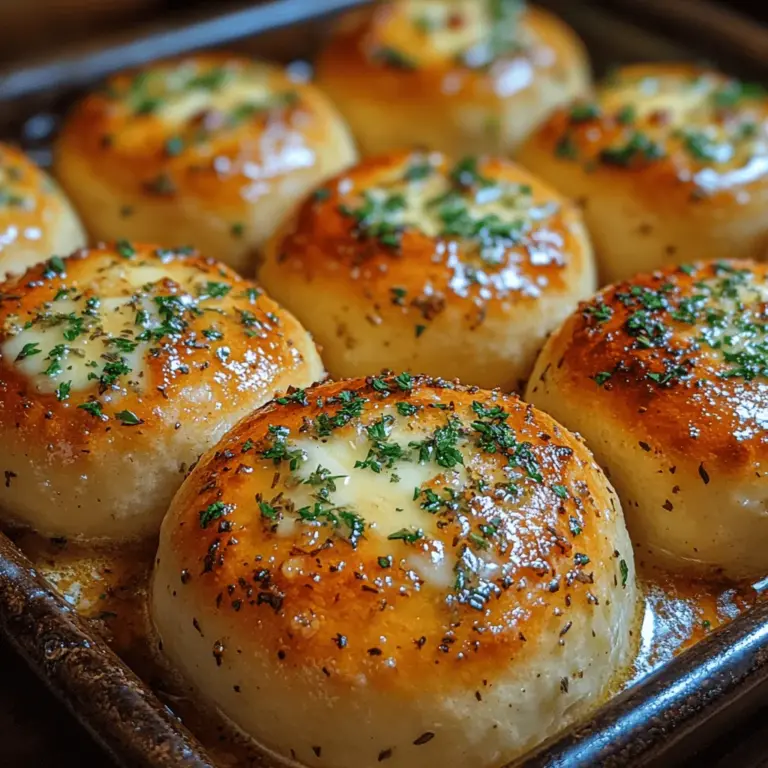
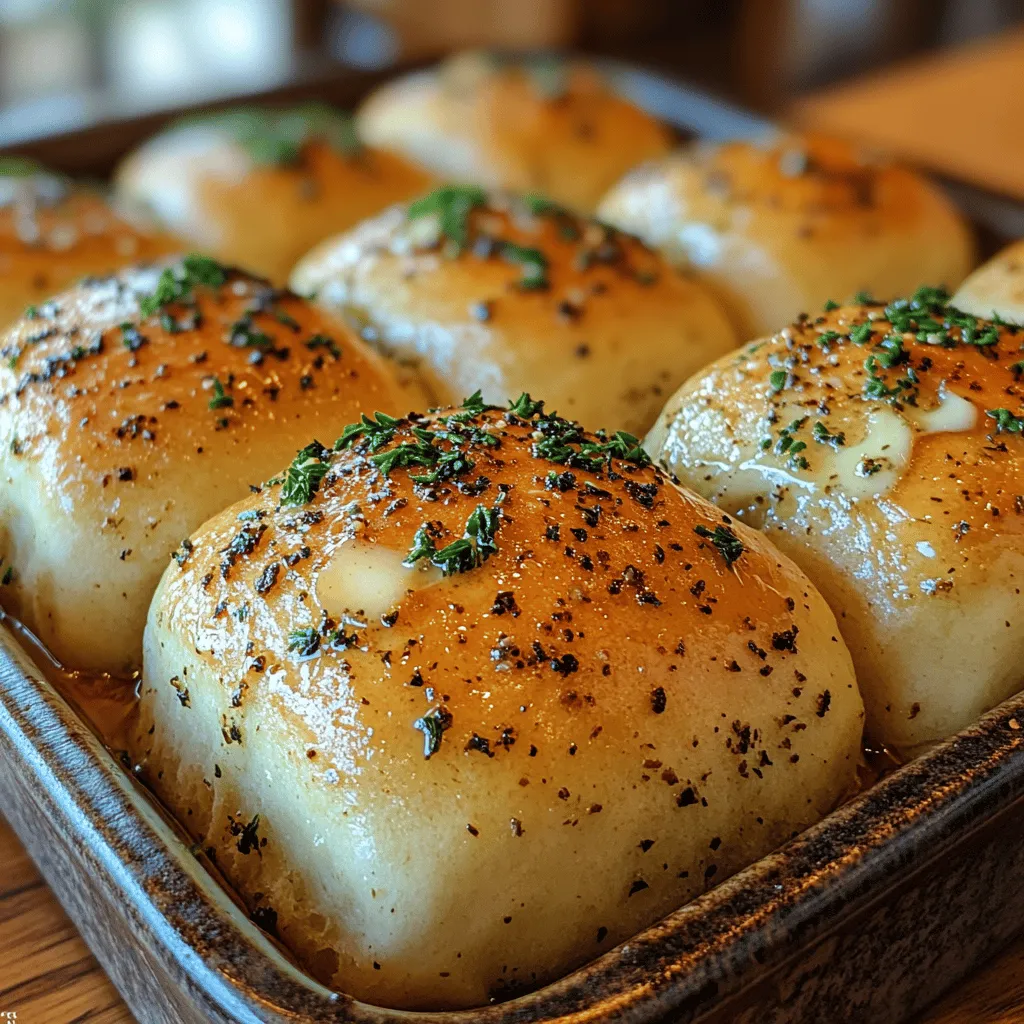
Homemade dinner rolls have a special place in the hearts and kitchens of many, transforming any meal into a comforting experience. The soft, fluffy texture paired with a golden-brown crust can turn an ordinary dinner into an extraordinary feast. Among the myriad of flavors that can enhance these rolls, garlic-infused herb butter stands out as a delightful choice, adding a rich, savory depth that elevates the simple bread to new heights. As the aroma wafts through your kitchen, it’s hard not to feel the joy that comes from baking—an act both satisfying and heartwarming. Sharing these homemade rolls with family and friends not only nourishes but also creates lasting memories around the dinner table.
The Allure of Homemade Dinner Rolls
Bread-making is an ancient craft that dates back thousands of years, deeply woven into the fabric of various cultures across the globe. From the rustic loaves of Europe to the fluffy naan of India, the art of creating bread has always been synonymous with sustenance and community. The process of kneading dough, waiting for it to rise, and finally baking it to perfection is a rite of passage in many households.
While store-bought rolls may offer convenience, they often lack the warmth and personal touch that only homemade bread can provide. The tactile experience of working with dough, the anticipation as it rises, and the satisfaction of pulling a pan of warm rolls from the oven can never be replicated by a factory. Homemade rolls are a labor of love that not only taste better but also carry the essence of the maker’s care and creativity.
Moreover, dinner rolls are incredibly versatile. They can complement a variety of meals—from a simple weeknight dinner to a festive holiday spread. Whether served alongside a hearty stew, slathered with butter, or used to mop up sauces, these rolls adapt seamlessly to any culinary context. Their ability to bring people together is as profound as the joy of sharing a meal itself.
Understanding the Ingredients
To create the perfect garlic-infused herb butter dinner rolls, it’s essential to understand the key ingredients and their roles in the recipe. Each component contributes to the overall flavor, texture, and success of the rolls.
Flour
The backbone of any bread recipe, flour provides the necessary structure and texture. All-purpose flour is commonly used for dinner rolls, offering a balance of protein that allows for adequate gluten development. Gluten is what gives bread its chewy texture and allows it to rise, creating that light and airy quality we love in rolls.
Yeast
Yeast is the magical ingredient that brings bread to life. It works through fermentation, consuming sugars and producing carbon dioxide and alcohol, which cause the dough to rise. Active dry yeast is often used in dinner roll recipes. To activate it properly, the yeast must be mixed with warm water (around 110°F) and a touch of sugar, which feeds the yeast and encourages it to multiply. Understanding the role of yeast is crucial, as it directly impacts the lightness and fluffiness of your rolls.
Garlic
Garlic is the star of this recipe, providing a robust flavor and numerous health benefits. Its pungent aroma and savory taste enhance the overall profile of the rolls, making them irresistible. Garlic is also known for its medicinal properties, including anti-inflammatory and antioxidant effects, which add an extra layer of appeal to these rolls.
Herbs
Fresh herbs are essential in elevating the flavor of garlic-infused herb butter. Varieties such as rosemary, thyme, or parsley not only enhance the aroma but also contribute vibrant flavors that complement the richness of the butter and the savory depth of garlic. Incorporating herbs into the dough or the garlic butter mixture can transform the rolls into a gourmet experience.
Butter and Milk
Butter adds richness and moisture to the rolls, resulting in a tender crumb. It also contributes to the browning of the crust during baking, creating that beautiful golden exterior. Milk, when included, further enhances the softness and flavor of the rolls, adding a slight sweetness and helping to achieve a tender texture. Together, butter and milk create a luxurious mouthfeel that is hard to resist.
Step-by-Step Guide to Making Garlic-Infused Herb Butter Dinner Rolls
Now that we’ve discussed the ingredients, let’s dive into the step-by-step process of creating these delectable dinner rolls.
Preparing the Yeast
The first step in making your garlic-infused herb butter dinner rolls is to prepare the yeast. Start by measuring out the warm water, ensuring it’s around 110°F. This temperature is crucial as water that is too hot can kill the yeast, while water that is too cold will not activate it properly.
In a mixing bowl, combine the warm water with a teaspoon of sugar and sprinkle the active dry yeast over the top. Allow it to sit for about five to ten minutes. During this time, you should see the yeast begin to bubble and foam, indicating that it’s active and ready to be incorporated into the dough. This is a vital step; if your yeast does not foam, it may be inactive, and you should start over with fresh yeast.
Mixing the Dry Ingredients
While the yeast is activating, prepare your dry ingredients. In a large mixing bowl, whisk together the all-purpose flour and salt. The salt is an essential component, not just for flavor but also for controlling the fermentation process of the yeast. Too much salt can inhibit yeast activity, so be sure to measure accurately.
If you are using herbs in your dough, this is the perfect time to incorporate them. Finely chop your chosen fresh herbs and mix them into the flour. This ensures even distribution throughout the dough, allowing every bite to be packed with flavor.
Combining Wet Ingredients
Once your yeast is activated, it’s time to combine the wet ingredients. In a separate bowl, melt your butter and allow it to cool slightly before adding it to the mixture. Combine the melted butter with milk, ensuring both ingredients are at a warm temperature (not hot) to promote yeast activity.
Next, pour the yeast mixture into the bowl with the butter and milk. Stir gently to combine and ensure the yeast is evenly mixed into the wet ingredients. This mixture needs to be integrated into the dry ingredients to form a cohesive dough.
Forming the Dough
Now, it’s time to bring everything together. Gradually add the wet ingredients to the bowl of dry ingredients, mixing with a wooden spoon or a dough hook attachment until a shaggy dough begins to form. Once the dough starts coming together, it’s time to get your hands involved.
Transfer the dough onto a lightly floured surface and knead it for about 8-10 minutes. The kneading process is essential for developing gluten, which gives the rolls their structure and chew. You’ll know the dough is ready when it becomes smooth and elastic, bouncing back slightly when pressed with your finger.
Once kneaded, shape the dough into a ball and place it in a lightly greased bowl, turning it to coat all sides in oil. This will prevent the dough from drying out as it rises. Cover the bowl with a clean kitchen towel or plastic wrap and let it rise in a warm, draft-free area until it doubles in size, typically about 1-2 hours.
As you wait for the dough to rise, the anticipation builds, and you can almost smell the delicious rolls that are to come. The next steps will guide you through the shaping and baking process, ensuring that your garlic-infused herb butter dinner rolls will be the highlight of your meal.
Stay tuned for the continuation of this recipe, where we’ll explore the next steps in creating these irresistible rolls.
—
Tips for Adjusting Dough Consistency if Too Sticky
When making garlic-infused herb butter dinner rolls, achieving the perfect dough consistency is crucial. If your dough is too sticky, don’t panic! Here are some effective tips to get it back on track:
1. Add More Flour Gradually: Start by adding 1 tablespoon of flour at a time. Incorporate it gently into the dough until you reach the desired consistency. Remember that it’s better to add flour gradually, as adding too much at once can lead to dry dough.
2. Knead with Oiled Hands: If your hands are sticking to the dough, try kneading with lightly oiled hands instead of floured ones. This technique can help manage stickiness without changing the dough’s hydration too much.
3. Check Humidity Levels: Dough consistency can be affected by humidity. In a humid environment, the flour can absorb moisture from the air, leading to stickier dough. If you’re baking on a particularly humid day, consider using slightly less water or milk in your recipe.
Kneading the Dough
Kneading is a vital step in bread-making as it develops gluten, which gives the rolls their structure and chewiness. Here’s how to knead properly:
1. Technique: Begin by pressing the dough with the heels of your hands, then fold it over and turn it a quarter turn. Repeat this process for about 8-10 minutes until the dough is smooth and elastic.
2. Importance of Kneading: Kneading aligns the gluten strands, creating a network that traps air bubbles during the rising process. This is essential for achieving light and fluffy dinner rolls.
3. Signs of Properly Kneaded Dough: The dough should be smooth and elastic. When you stretch a small piece, it should form a thin membrane without tearing easily (this is known as the “windowpane test”). If the dough readily tears, it needs more kneading.
The First Rise
Once your dough is kneaded, it’s time for the first rise, also known as fermentation. This step is crucial for flavor development and texture.
1. Ideal Conditions: Place the dough in a warm, draft-free area. Ideal temperatures for rising are between 75°F to 85°F. If your kitchen is cool, you can place the dough in an oven turned off but with the light on to create a warm environment.
2. Patience is Key: Allow the dough to rise until it has doubled in size, which usually takes about 1 to 2 hours. Resist the temptation to rush this process; proper fermentation enhances flavor and texture.
Shaping the Rolls
Once the dough has risen, it’s time to shape your rolls:
1. Dividing the Dough: Gently punch down the risen dough to release air, then divide it into equal portions. For standard dinner rolls, aim for about 12 pieces, each weighing approximately 2 ounces.
2. Shaping Technique: Take each piece and pull the edges towards the center, pinching to seal. Then, flip the dough over and roll it gently on a clean surface to form a smooth ball.
3. Achieving Uniform Size: For even baking, it’s essential to shape the rolls uniformly. You can use a kitchen scale to weigh each piece or simply eyeball it, ensuring they look similar in size.
The Second Rise
The second rise is crucial for achieving that fluffy texture.
1. Importance of the Second Rise: This final rise allows the rolls to expand further and develop their airy structure. It typically takes about 30 minutes to an hour.
2. Visual Cues for Readiness: The rolls should look puffy and have expanded significantly. A good test is to gently poke one roll with your finger; if the indentation remains, they are ready to bake.
Baking the Rolls
Baking is the moment you’ve been waiting for—let’s get those rolls in the oven!
1. Preheating the Oven: Preheat your oven to 375°F (190°C) before placing your rolls inside. This ensures that they bake evenly and develop a nice crust.
2. Signs of Done Rolls: The rolls are ready when they are golden brown on top and sound hollow when tapped on the bottom. The internal temperature should also reach around 190°F (88°C) for perfectly baked bread.
Finishing Touches: Brushing with Butter
For an extra flavor boost and a beautiful finish, consider brushing your rolls with melted butter right after they come out of the oven.
1. Flavor and Shine: Brushing with butter adds richness and gives the rolls a lovely sheen. You can also mix in some minced garlic or herbs into the butter for an additional flavor layer.
2. Serving Suggestions: These garlic-infused herb butter dinner rolls pair excellently with a variety of dips or spreads, including garlic aioli, herb-infused olive oil, or even a simple whipped cream cheese.
Serving Suggestions and Pairings
Garlic-infused herb butter dinner rolls are versatile and can complement many main dishes. Here are some serving suggestions:
1. Soups: Pair your rolls with a hearty vegetable soup or a creamy tomato basil soup. The rolls are perfect for dipping!
2. Salads: Serve alongside a fresh garden salad or a robust Caesar salad. The buttery flavor of the rolls enhances the overall meal experience.
3. Roasted Meats: These rolls make an excellent side for roasted meats, such as herb-roasted chicken or glazed ham. Their flavorful profile complements savory dishes beautifully.
Storing Leftover Rolls
If you happen to have any leftover rolls (which is unlikely!), storing them properly is crucial to maintaining their freshness:
1. Room Temperature: Place the rolls in an airtight container or a resealable plastic bag at room temperature. They should stay fresh for about 2-3 days.
2. Freezing: For longer storage, freeze the rolls. Wrap them tightly in plastic wrap and place them in a freezer-safe bag. They can last for up to 3 months in the freezer. To reheat, thaw at room temperature and warm in the oven for a few minutes.
Nutritional Information
Understanding the nutritional aspects of your meal can enhance your cooking experience:
1. Nutritional Benefits: These rolls contain ingredients like flour, which provides carbohydrates for energy, and herbs that offer various vitamins and antioxidants. Garlic, known for its health benefits, can boost the immune system and provide anti-inflammatory properties.
2. Healthier Substitutions: If you want to make a healthier version, consider using whole wheat flour for added fiber and nutrients. For a dairy-free option, you can substitute regular butter with plant-based butter or olive oil.
Conclusion
Making garlic-infused herb butter dinner rolls from scratch is a rewarding experience that brings joy and satisfaction to any kitchen. The aroma of freshly baked bread wafting through your home is not only comforting but also a wonderful way to create lasting memories with loved ones.
We encourage you to try this recipe and share your experiences. Whether enjoyed as a side dish or as the main attraction on your dinner table, these rolls are sure to impress. Homemade bread is more than just food; it’s a way to connect with family and friends, creating moments that are cherished for years to come. Enjoy the process, embrace your creativity, and savor every bite!
—


