Introduction
In a world where healthy snacking can often feel like a compromise between taste and nutrition, Choco-Banana Bliss Bars stand as a delightful exception. These bars offer a harmonious blend of rich chocolate and the natural sweetness of ripe bananas, creating a treat that satisfies your cravings while nourishing your body. Perfect for busy mornings, afternoon pick-me-ups, or a post-workout boost, these bars cater to a variety of dietary preferences, including vegan and gluten-free options.
The allure of Choco-Banana Bliss Bars lies not only in their indulgent flavor profile but also in the wholesome ingredients that contribute to overall wellness. Packed with nutrients and made from simple, easily accessible components, this recipe is not just easy to prepare; it is also a smart choice for health-conscious individuals and families alike. By incorporating these nutritious ingredients, you can enjoy a guilt-free snack that fuels your day with energy and satisfaction.
Exploring the Ingredients of Choco-Banana Bliss Bars
To fully appreciate the Choco-Banana Bliss Bars, it’s essential to understand the role each ingredient plays in both flavor and nutrition. Let’s take a closer look at these wholesome components:
– Ripe Bananas: The star ingredient of our recipe, ripe bananas bring natural sweetness and moisture to the bars, eliminating the need for excessive added sugars. Their binding properties help hold the bars together while contributing potassium, an essential mineral that supports heart health and muscle function.
– Almond Milk: A great alternative to dairy milk, almond milk is a staple in many vegan recipes. It offers a subtle nutty flavor and is lower in calories than regular milk. Almond milk is also rich in vitamin E, which is known for its antioxidant properties, making it a healthful addition to our bliss bars.
– Maple Syrup or Honey: In this recipe, you have the option to choose between maple syrup and honey as a natural sweetener. Both options provide a depth of flavor and sweetness but come with different nutritional profiles. Maple syrup is lower on the glycemic index and contains minerals like manganese and zinc, while honey boasts antibacterial properties and is rich in antioxidants.
– Vanilla Extract: This ingredient enhances the overall flavor profile of the bars, adding a warm, aromatic note that complements the bananas and chocolate perfectly. In addition to its flavor-enhancing properties, vanilla extract has been associated with potential mood-boosting benefits, making your snack even more pleasurable.
– Rolled Oats: A fantastic source of dietary fiber, rolled oats contribute to heart health and digestive well-being. They provide a chewy texture that balances the softness of the bananas and the richness of the chocolate. Oats are also known for their ability to keep you feeling full longer, making them an ideal base for a nutritious snack.
– Almond Flour: For those seeking gluten-free options, almond flour is an excellent substitute for traditional wheat flour. It is lower in carbohydrates and higher in healthy fats, making it a suitable choice for anyone looking to maintain balanced blood sugar levels. Additionally, almond flour adds a delightful nuttiness to the bars.
– Cocoa Powder: The inclusion of unsweetened cocoa powder not only provides that irresistible chocolate flavor but also brings a host of health benefits. Rich in antioxidants, cocoa powder can help reduce inflammation and improve heart health, all while satisfying your chocolate cravings.
– Baking Powder and Salt: These two ingredients play crucial roles in the texture of the bars. Baking powder acts as a leavening agent, ensuring that the bars rise to a perfect consistency, while a pinch of salt enhances the overall flavor, balancing the sweetness of the bananas and syrup.
– Dark Chocolate Chips: Choosing dark chocolate chips over their milk chocolate counterparts means you’re opting for a treat that’s higher in antioxidants and lower in sugar. Dark chocolate can improve brain function and heart health, making it a smart addition to your snack.
– Nuts and Coconut (optional): For those who want to elevate their Choco-Banana Bliss Bars even further, adding nuts or unsweetened shredded coconut can provide an interesting texture and additional healthy fats. Nuts such as walnuts or almonds offer omega-3 fatty acids, while coconut adds a hint of tropical flavor.
Step-by-Step Preparation of Choco-Banana Bliss Bars
Now that you’ve familiarized yourself with the ingredients and their benefits, let’s dive into the preparation process. Making Choco-Banana Bliss Bars is straightforward and can be completed in just a few simple steps.
Prepare the Base
1. Preheat the Oven: Start by preheating your oven to 350°F (175°C). This ensures a perfectly baked bar with a chewy texture.
2. Mash the Bananas: In a large mixing bowl, take 2 to 3 ripe bananas and mash them thoroughly with a fork or potato masher until smooth. The riper the bananas, the sweeter and more flavorful your bars will be.
3. Mix in Wet Ingredients: To the mashed bananas, add 1/3 cup of almond milk, 1/4 cup of maple syrup or honey, and 1 teaspoon of vanilla extract. Using a whisk or spatula, stir the ingredients together until well combined, creating a smooth mixture.
Mixing Dry Ingredients
4. Combine Dry Ingredients: In a separate bowl, mix together 1 cup of rolled oats, 1/2 cup of almond flour, 1/3 cup of cocoa powder, 1 teaspoon of baking powder, and a pinch of salt. It’s important to ensure that these dry ingredients are evenly combined to avoid clumping when added to the wet mixture.
5. Incorporate Chocolate Chips: If you’re using dark chocolate chips, fold them into the dry mixture. This will help distribute the chocolate evenly throughout the bars, ensuring that every bite is packed with chocolatey goodness.
Combining Mixtures
6. Combine Wet and Dry Mixtures: Gradually add the dry ingredients to the wet mixture, stirring gently until just combined. Be careful not to overmix, as this can lead to denser bars. The consistency should be thick and slightly sticky, perfect for pressing into the baking pan.
7. Prepare the Baking Dish: Line an 8×8-inch baking dish with parchment paper, allowing some overhang for easy removal. Alternatively, you can lightly grease the dish with coconut oil or cooking spray.
8. Transfer the Mixture: Pour the combined mixture into the prepared baking dish, spreading it evenly with a spatula. Press down firmly to create an even layer, ensuring the bars hold their shape during baking.
By following these steps, you’re well on your way to creating delicious Choco-Banana Bliss Bars that not only satisfy your sweet tooth but also provide a wealth of health benefits. Stay tuned for the next part of the article, where we will dive into the baking process and how to store these delightful bars for maximum freshness and enjoyment.
Prepare the Pan
Before diving into the delightful process of making your Choco-Banana Bliss Bars, it’s essential to prepare your baking dish properly. For this recipe, you will need an 8×8-inch (or similar size) square baking dish. Line the pan with parchment paper, leaving some overhang on the sides. This overhang will act as a convenient handle, making it easy to lift the bars out once they are set. Lightly greasing the pan before placing the parchment can also help it stick better, ensuring a smooth removal process. This step is crucial for achieving perfectly shaped bars without the hassle of sticking.
Spread the Batter
Once your batter is ready, it’s time to spread it in the prepared pan. Pour the mixture into the center of the lined baking dish and use a spatula to gently spread it evenly across the bottom. The importance of even spreading cannot be overstated; uneven thickness can lead to inconsistent cooking, with some parts being undercooked while others may become dry. Aim for a uniform layer that reaches the edges of the pan. This will ensure that every bite of your Choco-Banana Bliss Bars is deliciously satisfying.
Freezing Process
After the batter is evenly spread, place the baking dish in the freezer for at least 2 hours. This freezing process is essential as it allows the bars to set properly, ensuring they hold their shape when cut. As they freeze, the texture will transform from a soft batter to a firm, chewy delight that is easy to slice. After the initial freezing period, check the bars; they should be solid but not rock-hard. If they need more time, feel free to leave them for another 30 minutes to achieve the perfect consistency.
Cutting and Serving
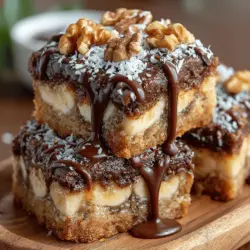
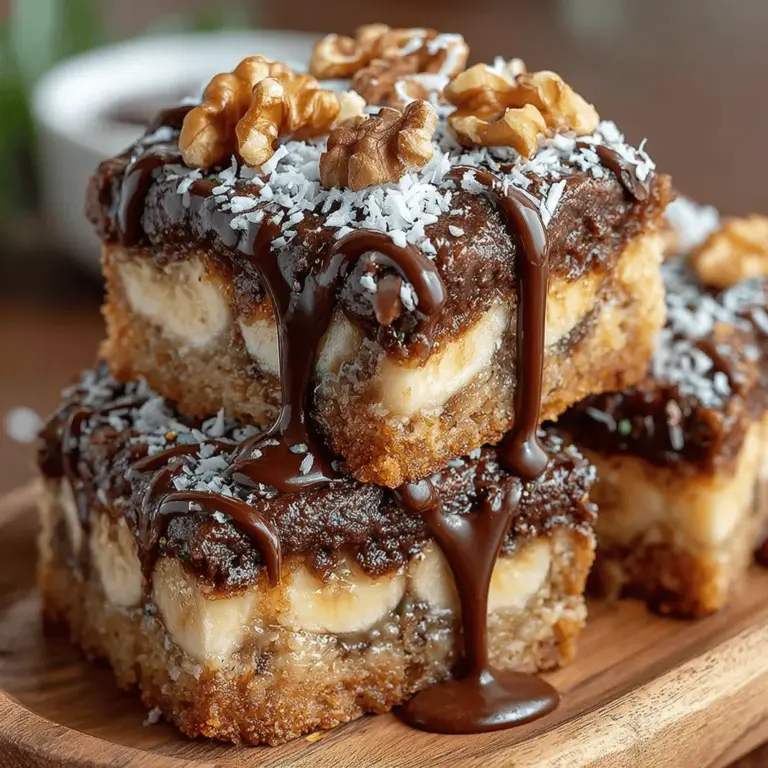
Once your Choco-Banana Bliss Bars have set, it’s time to cut and serve. Carefully lift the bars out of the pan using the parchment paper overhang. Place them on a cutting board and use a sharp knife to slice them into squares or rectangles, depending on your preference. For an appealing presentation, consider arranging the bars on a serving platter and sprinkling some shredded coconut or cacao nibs on top. These additions not only enhance the visual appeal but also provide extra texture and flavor.
When it comes to storage, keep the bars in an airtight container. They can be stored in the refrigerator for up to a week or in the freezer for up to three months. If freezing, it’s wise to separate layers with parchment paper to prevent sticking. Thawing can be done by leaving them in the refrigerator overnight or at room temperature for about an hour.
Nutritional Benefits of Choco-Banana Bliss Bars
Choco-Banana Bliss Bars are not just a treat; they are packed with nutritional benefits that make them an excellent snack option. Each ingredient contributes to a balanced profile of macronutrients. The bananas provide natural sugars and carbohydrates, while the nut butter adds healthy fats and proteins. This combination ensures sustained energy levels, making them perfect for a pre-workout snack or a mid-afternoon pick-me-up.
In addition to macronutrients, these bars are rich in vitamins and minerals. Bananas are an excellent source of potassium, which is crucial for heart health and muscle function. The oats provide fiber, promoting digestive health, while any nuts used in the recipe add magnesium and vitamin E. These bars fit seamlessly into various dietary plans, including vegan and gluten-free diets, making them accessible to a wide range of dietary preferences.
Creative Variations and Customizations
One of the beautiful aspects of Choco-Banana Bliss Bars is their versatility. Feel free to experiment with the ingredients to suit your personal taste preferences. For instance, you can swap out the almond flour for coconut flour or oat flour, depending on what you have on hand. If you’re looking to reduce sugar, consider using mashed dates or a sugar-free sweetener instead of maple syrup.
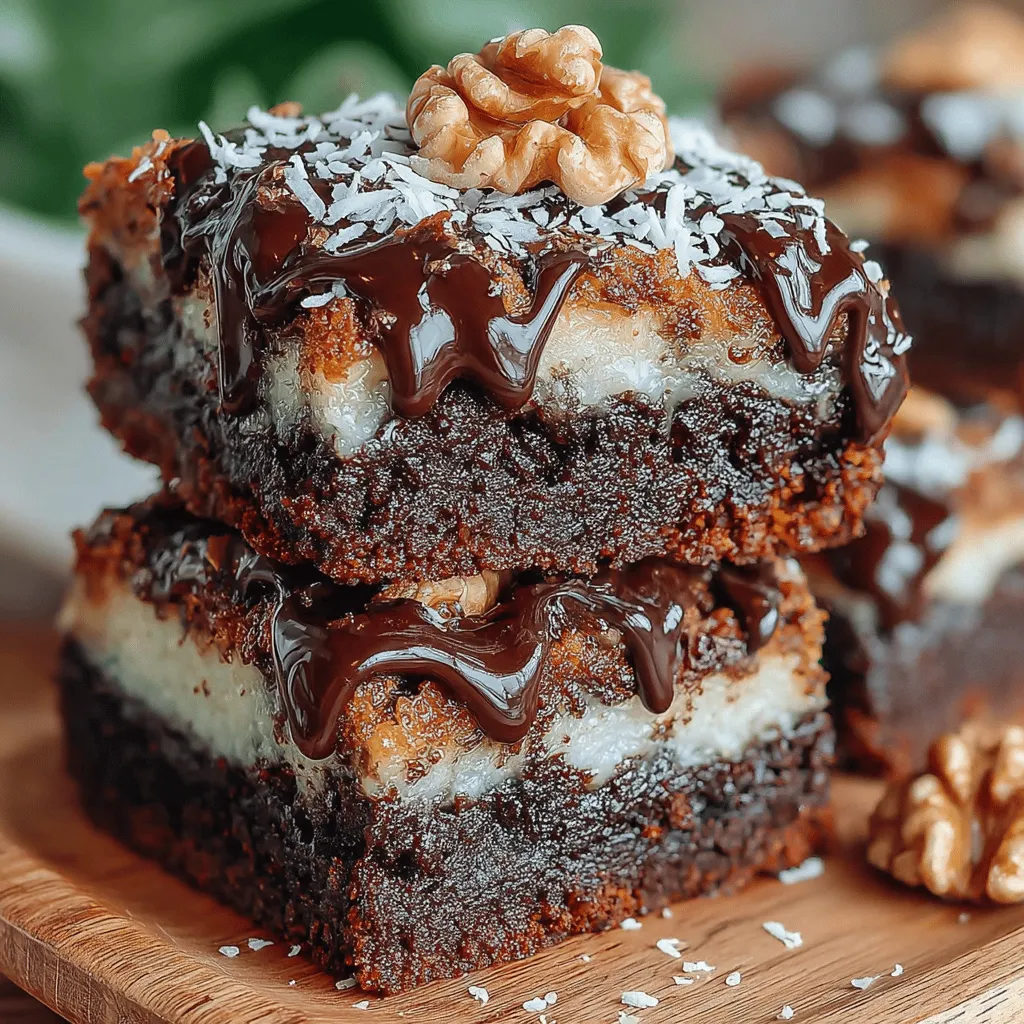
In addition to alternative flours, think about adding other ingredients to enhance the flavor and texture. Dried fruits such as cranberries or chopped apricots can introduce a delightful chewiness, while seeds like chia or flaxseeds can provide a nutritious crunch. For a more decadent treat, consider topping your bars with a drizzle of melted dark chocolate or a sprinkle of sea salt to elevate the taste profile.
Storage and Shelf Life of Choco-Banana Bliss Bars
Proper storage is key to maintaining the quality of your Choco-Banana Bliss Bars. If you plan to store them in the refrigerator, ensure they are kept in an airtight container to prevent them from drying out. They will stay fresh for up to a week, making them a convenient option for meal prep.
For longer storage, freezing is your best bet. These bars can last in the freezer for up to three months without losing their flavor or texture. When you’re ready to enjoy them, simply remove the desired number of bars from the freezer and allow them to thaw in the refrigerator or at room temperature. While the texture may slightly change upon thawing, they will still be delicious and nutritious.
Conclusion
Choco-Banana Bliss Bars are a fantastic addition to your snack repertoire, offering a delicious and healthy way to satisfy your sweet cravings. With their easy preparation and customizable ingredients, they cater to a variety of dietary needs while delivering an array of nutritional benefits. Whether you enjoy them as a post-workout snack, a quick breakfast on the go, or a treat to share with friends and family, these bars are sure to become a favorite in your kitchen. So gather your ingredients, follow the steps, and indulge in the bliss of homemade Choco-Banana Bliss Bars—where taste and health come together in perfect harmony.